Video
You can also watch the following videos for start.
Define a product
Go to the [Products] press [+] button then enter your product name and some model and descriptions (optional). You can pick a photo for your product if you want to.
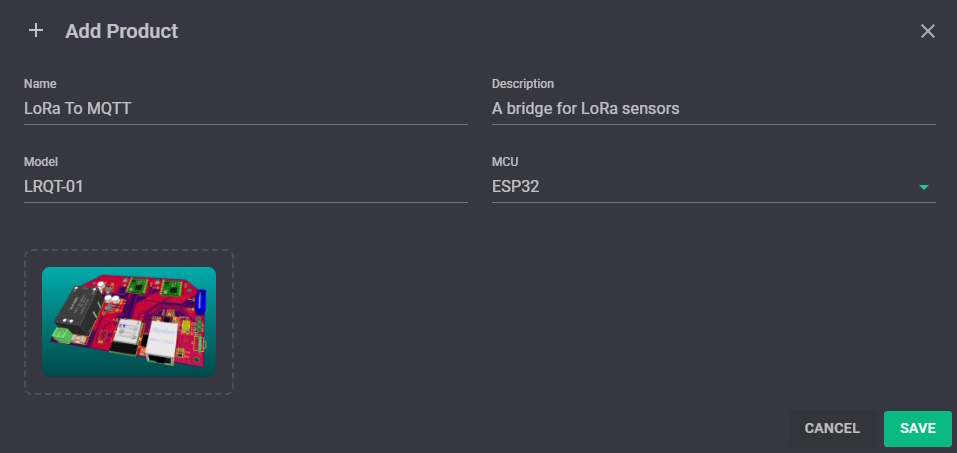
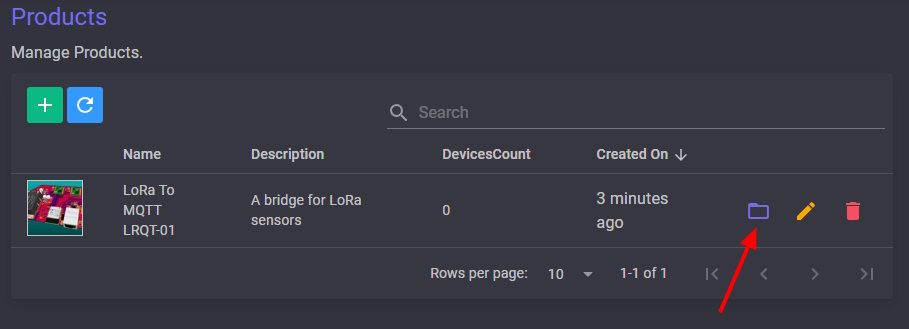
After saving your product open it to start the journy.
Write Code
To write your first code using OTA, there are several examples here. It depends on which MCU you use and what platform you are coding.
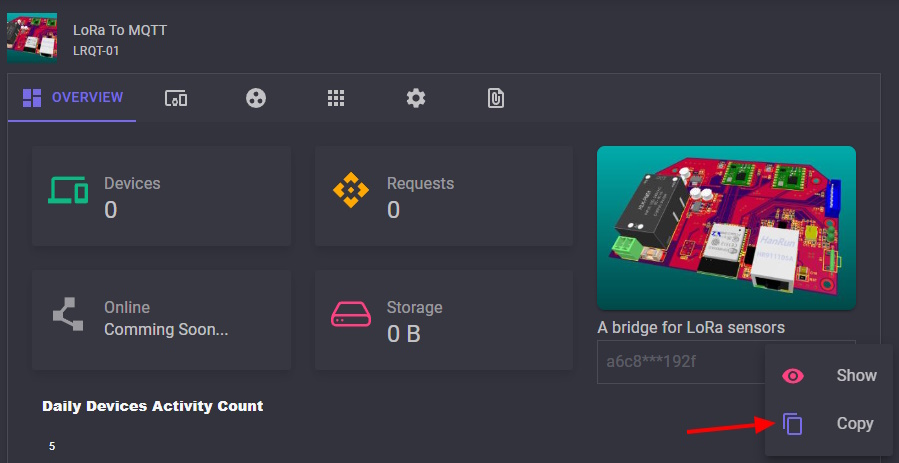
Get APIkey
To copy APIkey go to [Overview] section of the product and copy the APIkey by click on it and then [Copy] in the menu. Remeber that each product has its unique APIkey and the APIkey is the device credential to access the OTAdrive APIs.
First Compile and test
Please pick your first example project depends on your MCU and IDE. Replace the APIkey and network (WiFi) credentials in the sample code and the compile and download it to your test board. Then we except the device be available in your [Devices] section.
| Arduino IDE | PlatfomrIO Arduino | ESP IDF | |
|---|---|---|---|
| ESP8266 | Download | Download | Not Available |
| ESP32 | Download | Download | Download |
| STM32 | Coming Soon … |
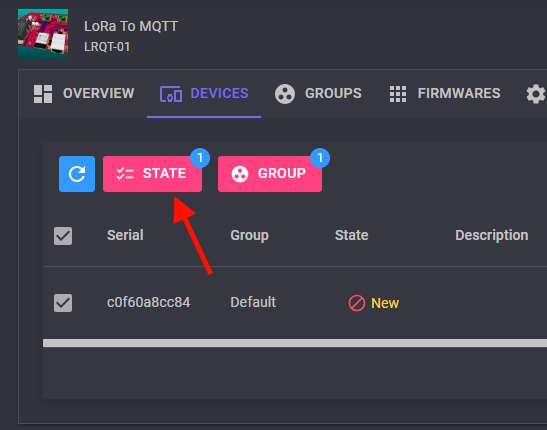
Verify the new device
After that, you have to verify the new device. Just select your new devices from the list and click on [State] button. Then select [Verify] and press [OK].
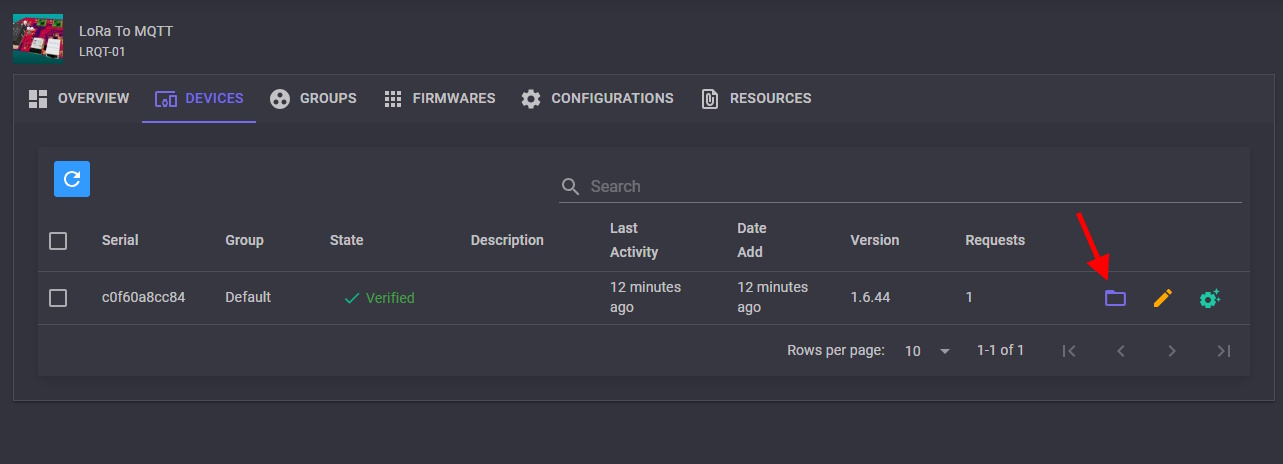
After that you can go to the Explore Device page and see whats happening to the device.
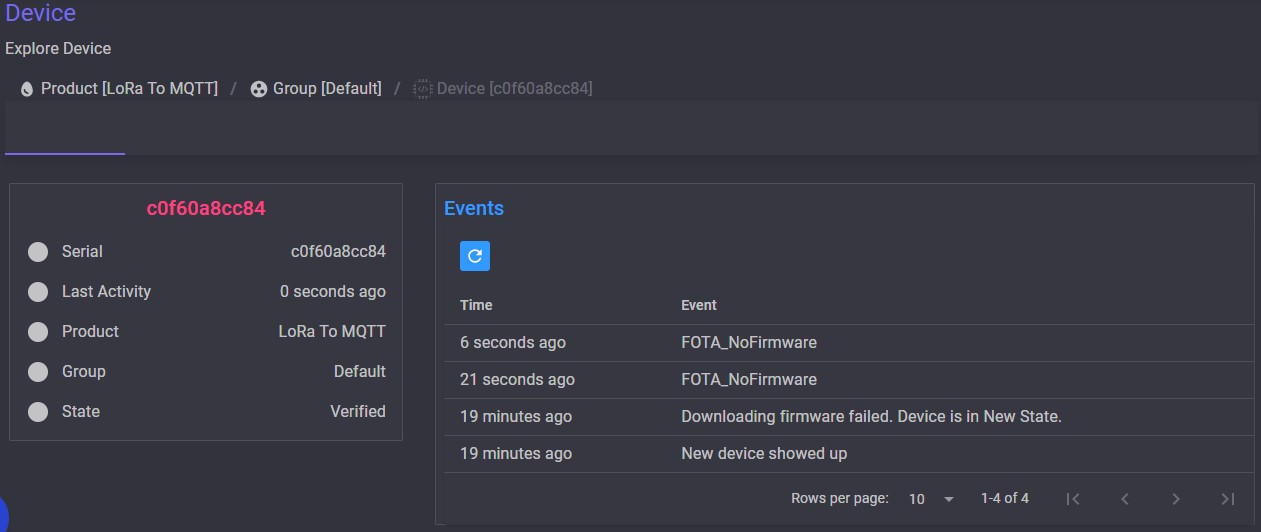
In the Explore Device page you can see all activities of your device in live! The [Events] section is list of all activities and result of them. This section will be useful for the next steps troubleshootings. BTW you can see live update progress of the FOTA download operation from your device.
Upload New Firmware
Now its time to upload your new firmware and see the update progress goes well. This is the target of our test. Please change some lines in the code, you can simply change version code and recompile (don't upload to device this time. Only compile!) the code. Then find the .bin file and upload it via the Firmwares tab of your prodct.
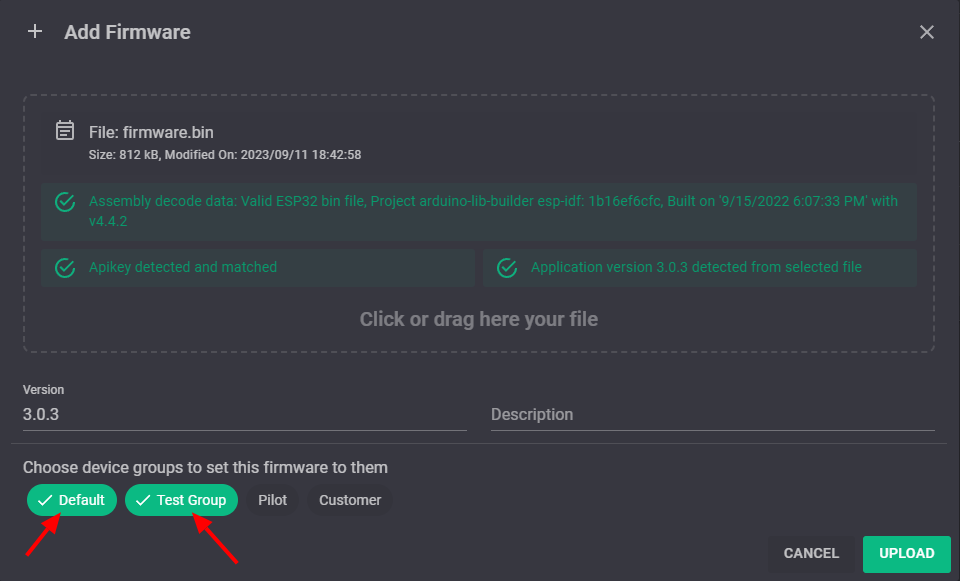
When you choose a file in Add Firmware form, The bin analyser will show you the results as the following image.
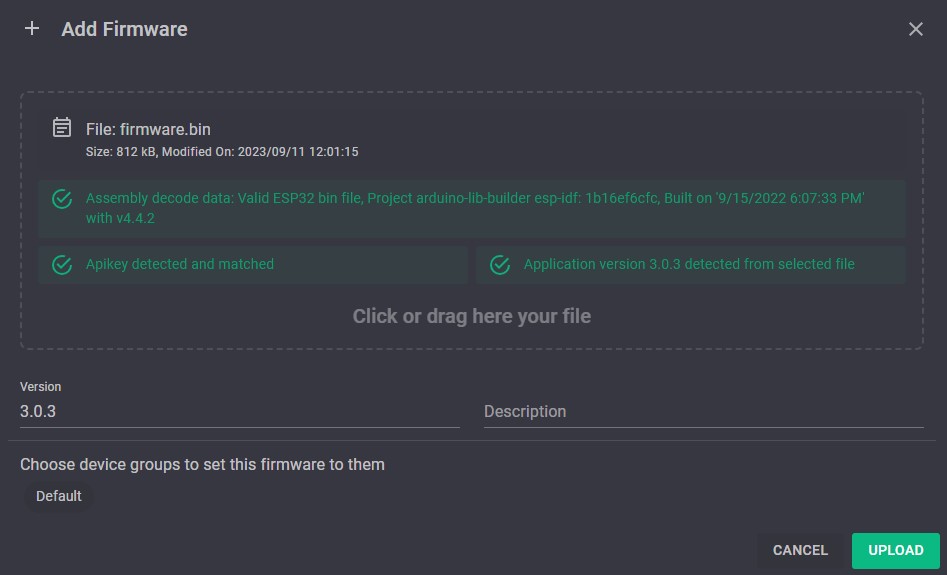
Press [Upload] button to save file.
Assign Firmware
You can open group assignments (Firmware,Config,Resource) from multiple forms. There are two common way.
- Go to
[Groups]section and click one of the assignments badges.
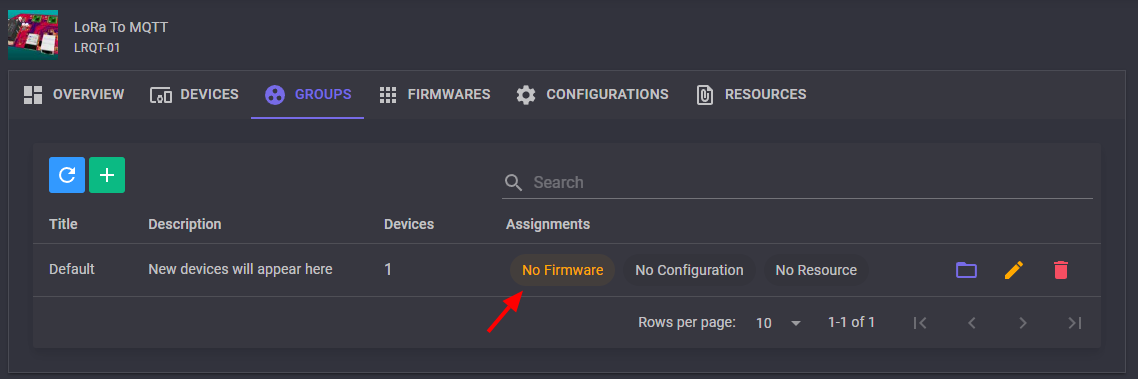
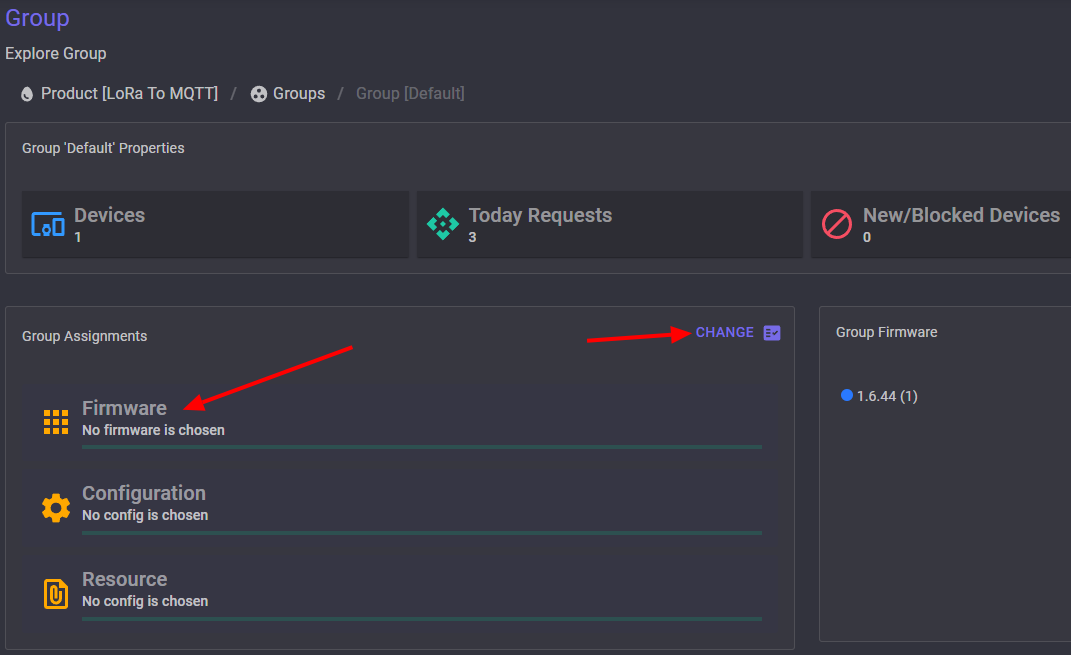
- Go to
[Groups]then open your group, click one of the assignments badges orChangebutton.
- Assign the firmware to one or several groups when you uploading. In this way you don't need next step for assign.
After open assignment dialog choose your new firmware for the group and press
It Works!
Go to the [Devices] section or Explore Group page and open Explore Device page. Now you can see the device updates and events tell you how it going on.